How to Use Prism.js for Code Syntax Highlighting
If you are writing a blog that contains code blocks, a syntax highlighter is essential. It makes your code look organized and easy to read. In this guide, I’ll explain how you can use Prism.js inside your project.
Why Use Prism.js?
- Lightweight and fast
- Customizable themes
- Supports multiple programming languages
- Plugin support for extended functionality
Downloading Prism.js
If you are working on a complex project, you can use npm to install Prism.js:
shnpm install prismjs
However, for most projects, a manual setup is simpler and easier to manage.
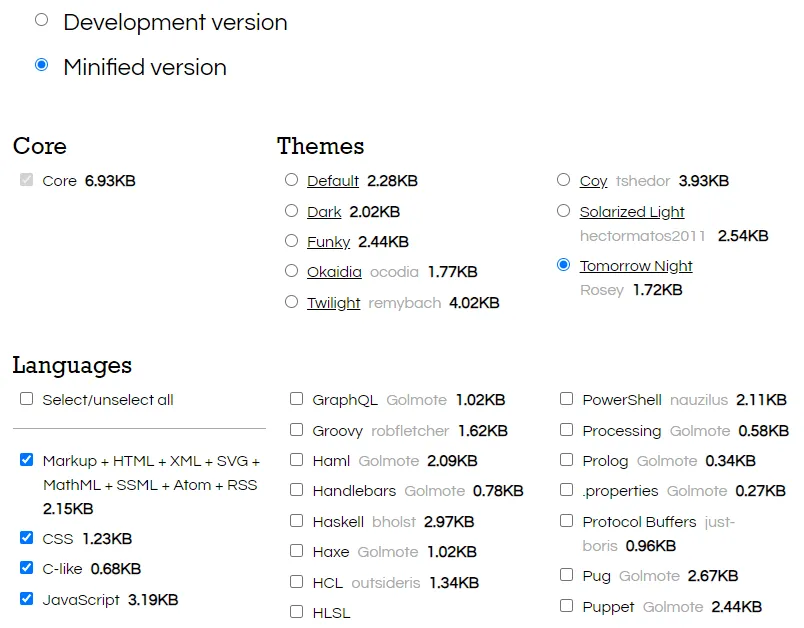
Steps to Download Prism.js Manually:
- Visit the Prism.js download page.
- Select a theme of your choice.
- Choose the languages you need.
- Select any additional plugins if needed.
- Download the CSS and JS files.
Prism.js provides a modular approach, allowing you to include only what you need, keeping the file size minimal.
Adding Prism.js to Your Project
Once you’ve downloaded the required files, add them to your project:
Link the CSS file inside the <head> tag:
html<link rel="stylesheet" href="path-to/prism.css" />
Link the JS file before the closing <body> tag:
html<script src="path-to/prism.js"></script>
How to Use Prism.js
After adding the CSS and JS files, you can use Prism.js by adding a class to your <code> blocks. Example:
html<code class="language-html"> <i id="toggle_theme_button" aria-hidden="true" class=""></i> </code>
Language Support
For different programming languages, use the appropriate class:
- HTML →
language-html - JavaScript →
language-js - CSS →
language-css - Python →
language-python
If you use an unsupported class or didn’t select a language when downloading Prism.js, the code block will not be highlighted properly.
Conclusion
Prism.js is a powerful and easy-to-use syntax highlighter that enhances the readability of your code snippets. By following these simple steps, you can quickly integrate it into your project.